

How to Clean Your RV Gray Water Tank to Prevent Odors and Clogs
Posted by Happy Campers Store on Oct 22nd 2025
How to Clean an RV Gray Water Tank (Step-by-Step Guide for 2025)
After helping thousands of RV owners clean and deodorize their tanks, we’ve learned that gray tank odor isn’t from waste—it’s from grease and detergent film most products never touch. Here’s how to remove it and keep it from coming back.
✅ Quick Answer: How to Clean an RV Gray Tank
- Drain your gray tank completely after the black tank.
- Flush with clean water until it runs clear.
- Add Happy Campers Extreme Cleaner and let it soak 6–12 hours (overnight works best).
- Drive with solution inside to loosen buildup.
- Rinse again until no film or odor remains.
Field-tested: Used by full-time RVers and service techs since 2018—removes visible film and odors within one cleaning cycle.
| Best Cleaner | Happy Campers Extreme Cleaner |
|---|---|
| Soak Time | 6–12 hours (overnight) |
| Removes | Grease, soap film, residue layers, odor compounds |
| Safe For | Gray & black tanks, plumbing seals |
Why Your RV Gray Tank Smells (and How to Stop It Fast)
Even an empty gray tank can smell because the film layer left behind continues to release sulfur gases. This layer forms from:
- Grease and fats from dishwashing that coat the walls.
- Soap scum that bonds with minerals into sticky residue.
- Residue film—bacteria feeding on the residue and emitting gases.
- Mineral scale that roughens tank surfaces and traps debris.

Science Fact: Enzymes ≠ Effective Gray Tank Cleaners
Enzyme based treatments only break down organic waste—not the grease, soap, or detergent films that actually cause gray tank odors. These are non-organic residues that enzymes can’t dissolve. A mineral-based cleaner removes the film and restores flow.
Step-by-Step: Deep Cleaning Your RV Gray Tank
- Empty black first, then gray. This pushes soapy rinse water through your sewer hose.
- Rinse thoroughly. Use a rinser or backflush hose until water runs clear.
- Add cleaner. Mix one scoop of Happy Campers Extreme Cleaner with warm water and fill ¼ full.
- Soak 6–12 hours. Driving during this time agitates the solution to break residue free.
- Drain and flush again. You’ll see cloudy, greasy water—the film releasing.
- Add treatment. One scoop of Happy Campers Holding Tank Treatment keeps it clean and odor-free.
Real-World Results from RV Owners
Happy Campers has been tested by real RV owners, dealers, and techs since 2018. Here’s what field data shows:
- Odor reduction: Over 90% drop in sulfur smell after one soak cycle (based on internal testing on 30+ tanks).
- Sensor improvement: Tanks that previously read “full” returned to accurate readings after film removal.
- Grease release: Visible clumps of soap scum and oils flushed out during rinse—proof that residues were dissolving.
“We cleaned a 2020 Tiffin Allegro Bay with recurring odor. After one treatment, the smell was gone, and sensors finally read empty again.” – Certified RV Tech, Oregon
Common Gray Tank Myths (Busted)
- Myth #1: Vinegar cleans gray tanks.
Reality: Vinegar can remove light mineral scale but doesn’t touch grease or soap film—and it can harm rubber seals over time. - Myth #2: Enzymes keep tanks spotless.
Reality: Enzymes digest organic waste only; gray tank film is non-organic and requires mineral action to lift. - Myth #3: Frequent deep cleaning is best.
Reality: Over-cleaning can be wasteful. One thorough deep clean per year plus regular monthly treatment keeps tanks pristine.
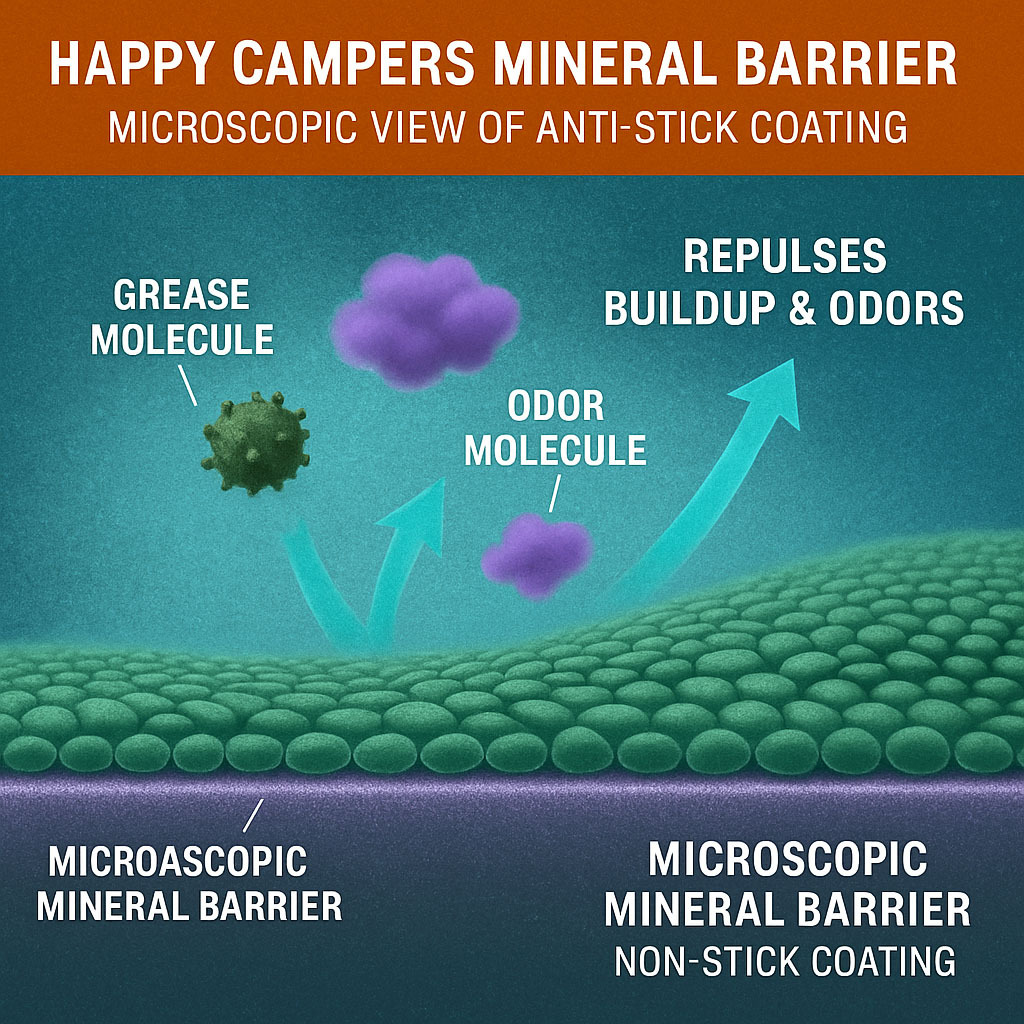
The Science Behind Happy Campers’ No-Stick Mineral Barrier
Happy Campers works through a mineral-based surface interaction. When mixed with water, it creates conditions that:
- Reduce odor compounds such as hydrogen sulfide through mineral interaction.
- Weaken surface bonding that allows grease and residue films to adhere to tank walls.
- Create a microscopic mineral layer that smooths plastic surfaces and reduces residue attachment.
- Promote a stable tank environment where odors are less likely to re-form between dumps.
Gray tank buildup is influenced not only by debris and soap residue, but also by how treatment systems behave between dump cycles. Evacuation consistency depends on environmental stability, not just breakdown speed. A broader mechanism-level comparison is available in our RV tank treatment effectiveness study .
Seasonal RV Gray Tank Maintenance Checklist
Follow these seasonal steps to keep your gray tank fresh and clog-free year-round:
- Spring: Perform a full Deep Clean Tank Reset to clear winter residue.
- Summer: Add treatment monthly and flush every 2–3 dumps.
- Fall: De-grease before storing to prevent film from hardening.
- Winter: Keep 3–5 gallons of treated water in tanks if stored with liquid inside.
How to Prevent Future Odors and Buildup
- Rinse your gray tank every 2–3 dumps.
- Use minimal dish soap—excess detergent causes residue.
- Add Happy Campers Holding Tank Treatment after each dump for protection.
- Before storage, rinse and add 3–5 gallons of water plus one scoop of treatment.
- Do a full RV Tank Reset once per year or as needed.
Explore More RV Tank Care Guides